LIGHT PAINTING
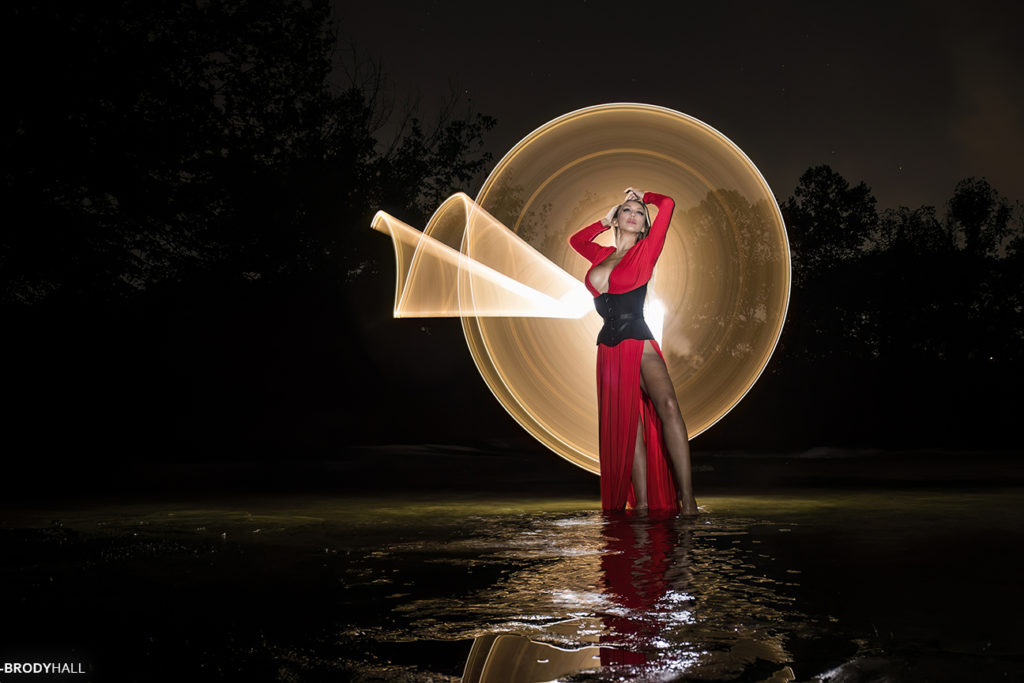
For me, light painting is POWERFUL, it catches the eye and excites! Kinda like being a kid and going to the fair at night with all the rides lit up! You can use this exciting technique with almost any photography genre – with a model, it can be anything from nude to swim suit, to high fashion, to beauty. Without a model, it can be a unique still life or an incredible landscape. Play with it – have fun – find your niche.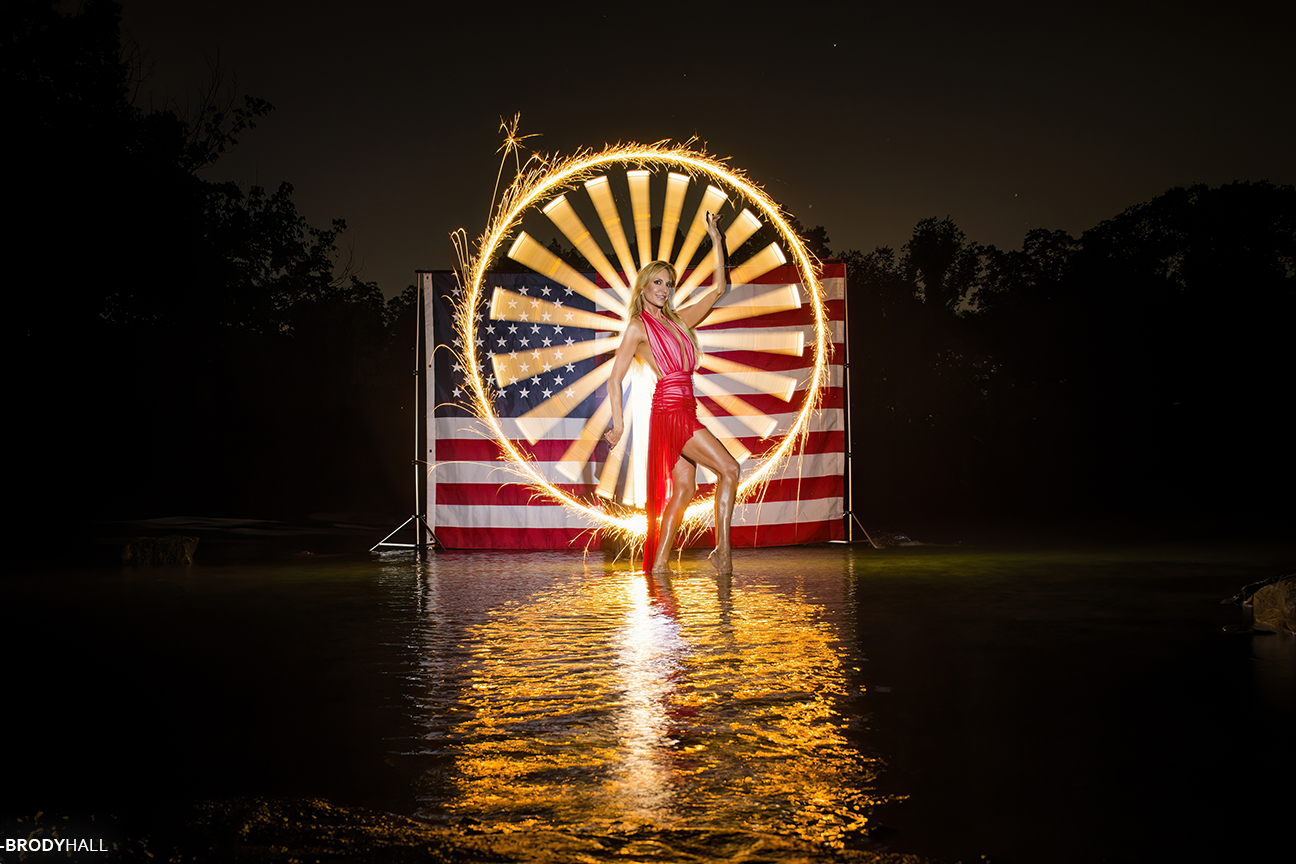
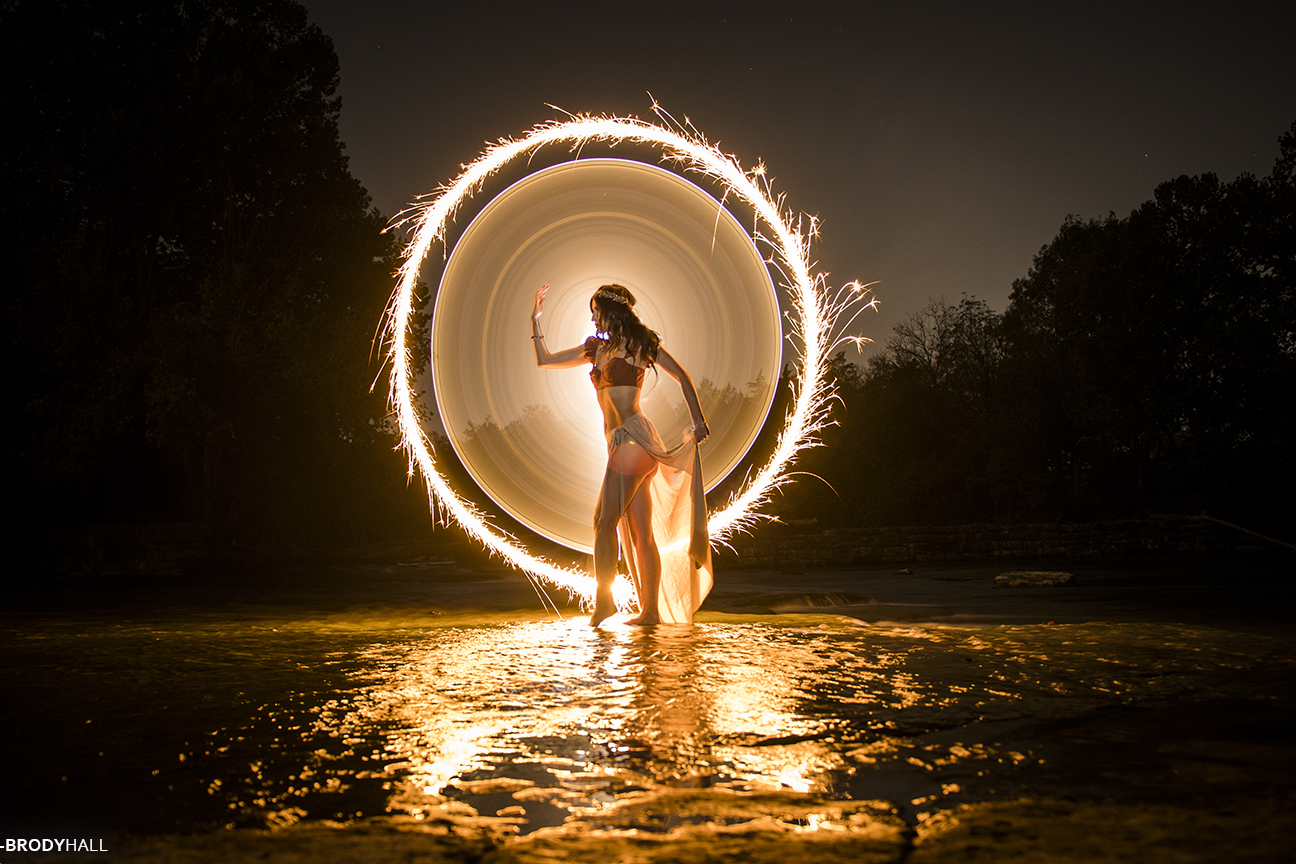
To understand – the concept is pretty simple for a pro, maybe a lil more technical for someone that has just picked up a camera or is not familiar with shooting in manual mode. Light painting is the technique that combines a long exposure on the camera with a moving light source (flashlight, sparkler, light wand), creating light trails/designs. There are lots of ways to do it, lots of tricks and props. The most important part…it’s NOT done in editing software in a basement somewhere.
Understanding and doing are two COMPLETELY different things. I have been a professional photographer for 35 years so I understood light painting when I saw it, but doing it – wow. Still working on the doing part!!! This technique requires lots of practice and patience. You will make lots of adjustments to your settings, changes in techniques with the light source, and even changing your equipment.
Personally, I like using a model, in super shallow water just for the reflection. I have done wardrobe ranging from a Greek goddess to high fashion to swim suit to a wedding dress. Long dresses are my favs, where the model can pose in them and hold them up. Even a bikini cover up does great for this concept. One of my light painting images made the cover of a musical artist’s CD. (which I thought was pretty dang cool) Knowing this is the kind of light painting I do, this article is designed around that technique. There are LOTS of other types of light painting and I won’t even begin to get into those. LOL
What to Bring!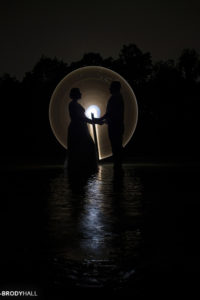

Camera stuff
- Camera (must be able to do manual settings, and possibly bulb mode setting)
- Lens (I recommend a wider angle lens, but this is personal preference.)
- Tripod (and the mounting piece. Even a bean bag will do to hold your camera. I prefer smaller/lower tripods.)
- Remote release (I strongly recommend a dedicated wireless remote for YOUR camera. A cell phone remote has a long delay. You need a remote that will snap the picture when you press the button)
- Flash light / head lamp (so you can see what you are doing – use this light on your model to set your focus)
- Camera manual (you are gonna be doing some weird settings on your camera)
- Strobe – with a very tight honeycomb / spotlight / snoot (if shooting a model)
- Strobe stand
Light source
- Flashlight (I love the ones that strobe) (extra batteries)
- Light Tubes, Wands, Fiber optics, lasers, glow sticks, cell phones, just about anything…
- Colored gels to change the color of the light
- Sparklers are very fun (On the end of a string so you can spin it)
- Rubber bands
Optional (but highly recommend)
- Small glow stick (I place this on my camera lens, so I can see where it is in the dark)
- Bug Spray
- Knee pads (Highly recommend)
- Water shoes (if you are shooting in water – flip flops, Tevas, Chacos)
- Light weight/nylon pants or shorts (you may get the bottoms wet).
- Towel(s) & garbage bag for wet items
(Just as reference of where I am coming from with equipment, I use a Nikon D5, with a 24-70 f/2.8 Nikkor lens. I also use a Godox AD200pro strobe. I have lots of links below to the gear I use in my light painting.)
What to do!
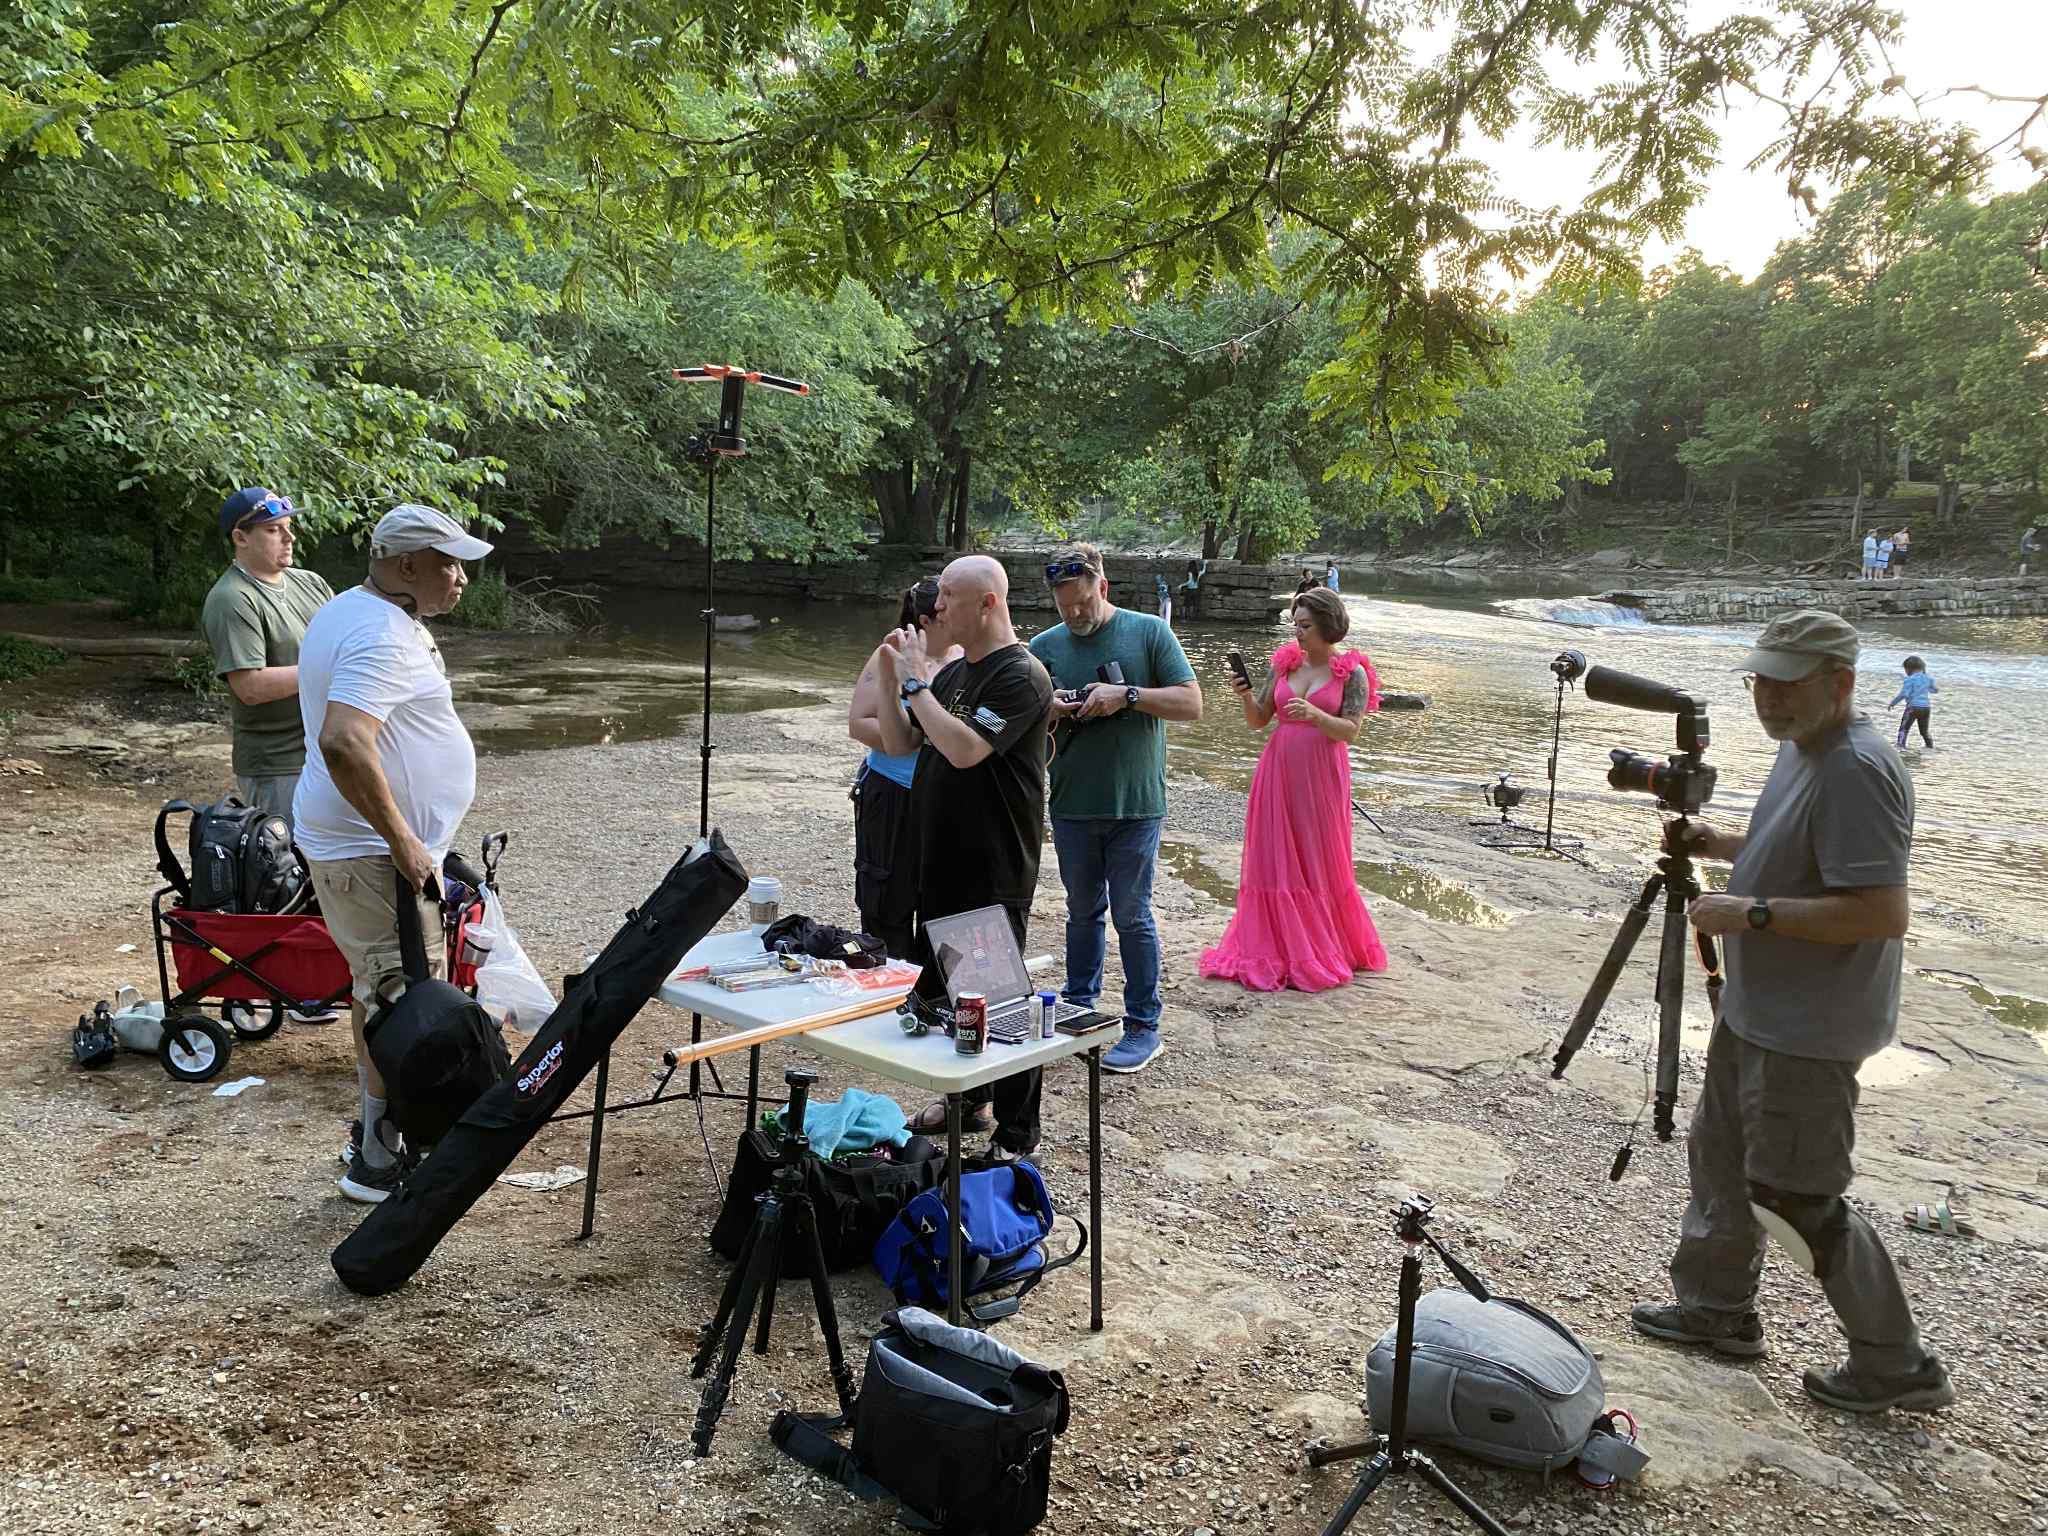
SET-UP GEAR
- Put on appropriate clothing.
- Set-up a dry staging area for your equipment and a flood light (I do this cause I shoot close to water)
- Find a good spot for your camera at the edge of the water
- Set-up camera & tripod (Attach remote release and strobe trigger, attach a 90 degree viewer as well if your camera is super low to the ground.)
- Set up your stand & strobe (I set my strobe power in the middle, so I can go up or down after the test shots)
- Camera settings to start with – Rear sync flash, F5.6, 400iso, 2 seconds (ALL settings need to be in manual mode – any auto mode is gonna screw things up)
If you are shooting by the water, find a place that is safe and dry for your gear (light tubes, sparklers, kitchen torch, extra batteries, etc). Have a lamp or a flashlight for this area… You will be turning it on and off a lot. After this, figure out the direction of your shoot, the background you want, and then set up your camera accordingly. I like low angled shots just above the water, so I use a VERY LOW tripod. Since my camera monitor on the back does not move, I use a 90 degree view finder. It helps a lot! Don’t forget to attach the camera remote and the strobe remote as well. If using a strobe, set it up close to your camera at the appropriate height. I generally take it up about 3-4 feet. (I also hang a glow-stick necklace around my camera lens at this point)
Since I like working with models, I use a strobe. It is very difficult for anyone to stand perfectly still for multiple seconds, and moving while the sensor is exposed will cause the model to blur in the photo. The strobe takes care of that. I use a rear sync setting – the strobe fires just before the shutter closes. This way – when I push the remote, the camera snaps open and when the strobe pops, I know the shutter is closed. This is another setting you will have to play with. Depending on your strobe and the power level, you are gonna have to figure out the balance. I like to start in the middle on my settings so I can go up or down as needed. Remember when I said you will have to change equipment – trust me, I did. When I first tried this, I used the Speed light on the camera. Disaster – I was lighting up EVERYTHING. So I switched to a hot light (a light that stays on all the time), it worked better, but still too much light. Finally I switched to a Godox ad200 strobe. More than enough power for this, but still putting light everywhere. So I added a modifier and a honeycomb to REALLY make the light directional. This did the trick. I was no longer lighting up the water (which was killing my beautiful reflection) and the trees and environment also stayed dark. Just the model was getting hit by the light.
When it comes to camera settings and lens, you pretty much want to turn off everything auto. Turn off the VR or Image Stabilization on the lens. When your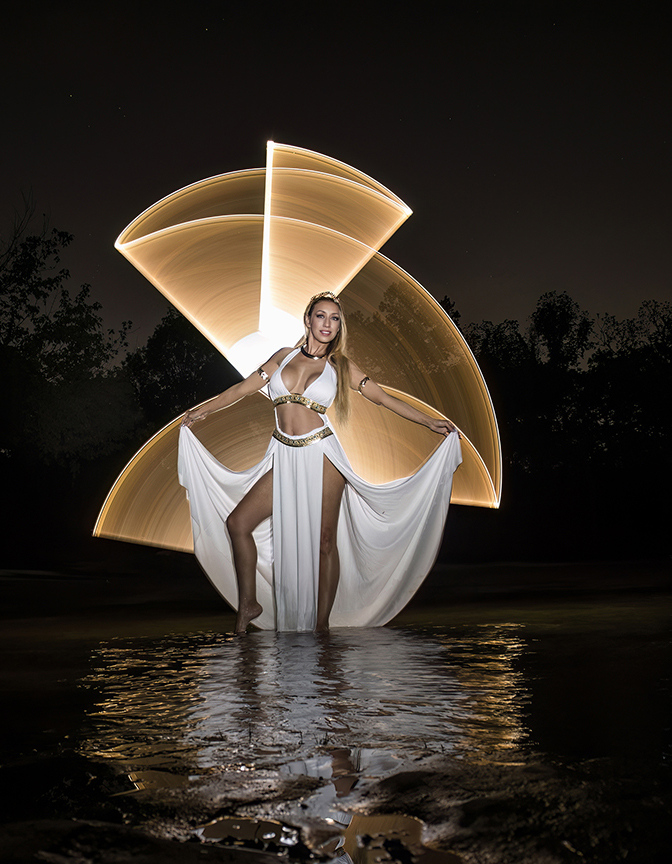 camera is mounted, you don’t really need it and it can actually cause the image to blur. Turn off your Noise reduction (NR) – without getting technical – it’s not needed and can screw up your exposure timing. And you will be turning off auto-focus, but not yet!
I set my camera ISO to 400, sometimes I go higher, if I am wanting a brighter image. I use an f-stop around 4 to 5.6, and I start with my exposure being 2 seconds. I know that doesn’t sound long, but in the photo world, it’s years. (Careful that you don’t set your exposure to ½, that is only half a second – don’t ask me how I know this.) Some people do 8 second exposures, while others do a bulb mode setting. But for model Light Painting, 2-3 seconds usually works.
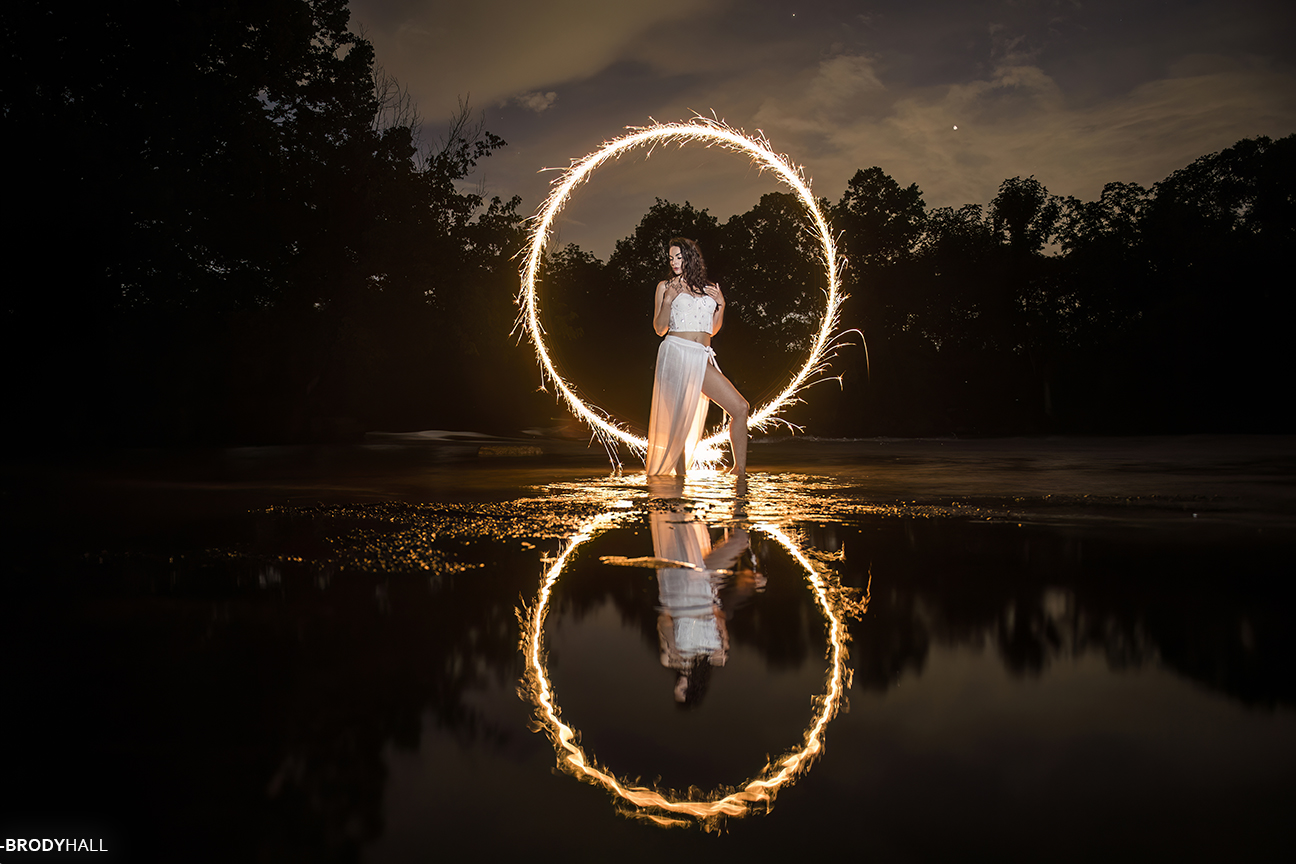
Lastly, I do two things before it gets to dark. First, I put a glow stick necklace around my lens. That way, when it gets dark, I can see where my camera lens is from the water. Secondly, I wade out and mark the spot with small rocks below the surface of the water where I think my model should stand. Again, the water I shoot in is only a few inches deep. (If the water is maybe a foot deep, think about using a step stool.)
SET-UP MODEL
- Place model in water – focus & test shots
- Use a lanyard or wrist band to hold remote and tube light safely (you will be standing in water)
- Turn off all shore lights
I like to shoot is ankle deep water, just enough to get that beautiful reflection popping off the water. I escort the model out to the spot I marked and leave them there. Coming back to shore, I shine my flash light on the model and let the camera auto focus, taking a test shot. Most cameras wont shoot if it’s not in focus. Once the model is in focus I switch the lens to manual mode, turning off auto focus. When you are shooting for real, the model will be in the dark and the camera can’t focus. Or it may focus on the light tube/flashlight which could be a couple of feet back from the model. (Do not change your focal length, move your camera, or let your model move – or your images will be out of focus.)
Now I do some test shots of just the model to make sure the power level on my strobe is appropriate and that the camera settings are where I want them. I also do the test shots with the remote to make sure it is working correctly. Once I am happy with everything, I gear up.
Remember what I said about suiting up? You are out at night, holding a light – you are gonna be covered in bugs. I wear black pants, a black long sleeve shirt, and a lightweight black balaclava. Trust me on this, without the balaclava – you will be eating bugs all night.
At this point, you want to attach your gear to a dummy cord and your wrist, grab your light tube, flashlight, camera remote. Turn off all the lights you are using on shore and then make your way out to the model, putting the model between you and the camera. It’s going to be dark and you won’t be able to see any of your gear, that lil glow stick around your lens comes in handy right about now.
SHOOT
- Position yourself behind model with light tube
- Inform the model about the long exposure time
- Pop the remote and create!!
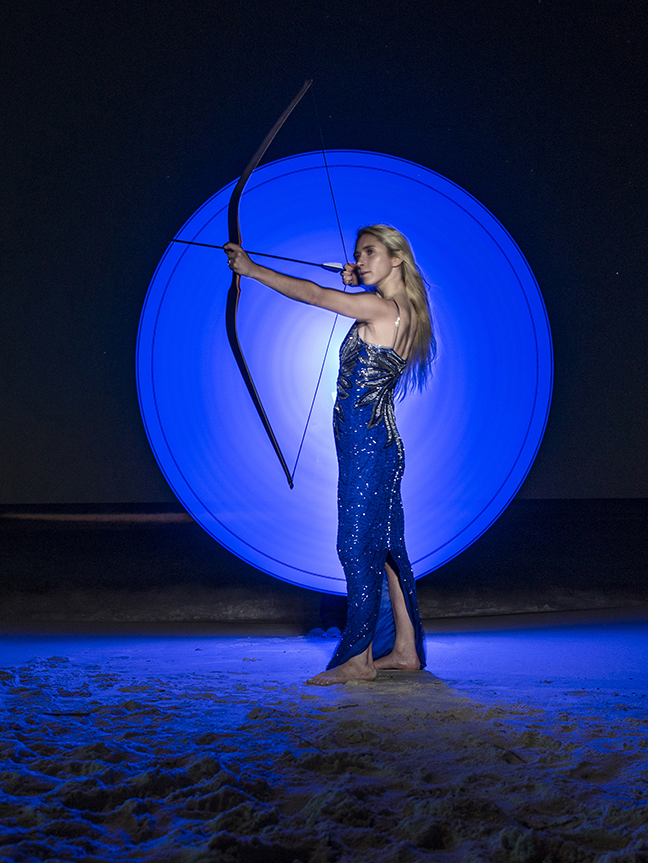
When you are behind your model, explain to them about the long exposure so when they hear the click they will freeze till the strobe pops. Then they can change to a different pose. And feel free to have them hold the same pose for several camera snaps. With that, you are ready to rock. Using your light stick, tube, flashlight, sparkler…whatever you have, click your remote and start making your designs. Try different colors, try different shapes, use a strobe setting on the flash light, try different power levels on your flashlight. I love adding sparklers to the end of my light tubes. I simply use rubber bands to hold em all. I also have my light tubes taped with black gaf on one side so it doesn’t light me up when I am twirling it.
 Once you have the basics, there is no limit to what you can do. Have fun and create something AMAZING!
I love being inspired by incredible photographers…
If you haven’t seen his work, go to Eric’s instgram page – this guy is soooo good – you just wanna kick him in the shin! Crazy amazing… IG @ericparephoto. This is where I first got inspired to try light painting. His videos are fantastic. I love photographers that explain how they do something. Although I have not used them personally, Eric does sell great light painting gear. (tubes, flashlights, bags, modifiers). I know photographers that have purchased his equipment and they LOVE the gear and the results. https://lightpainting.store/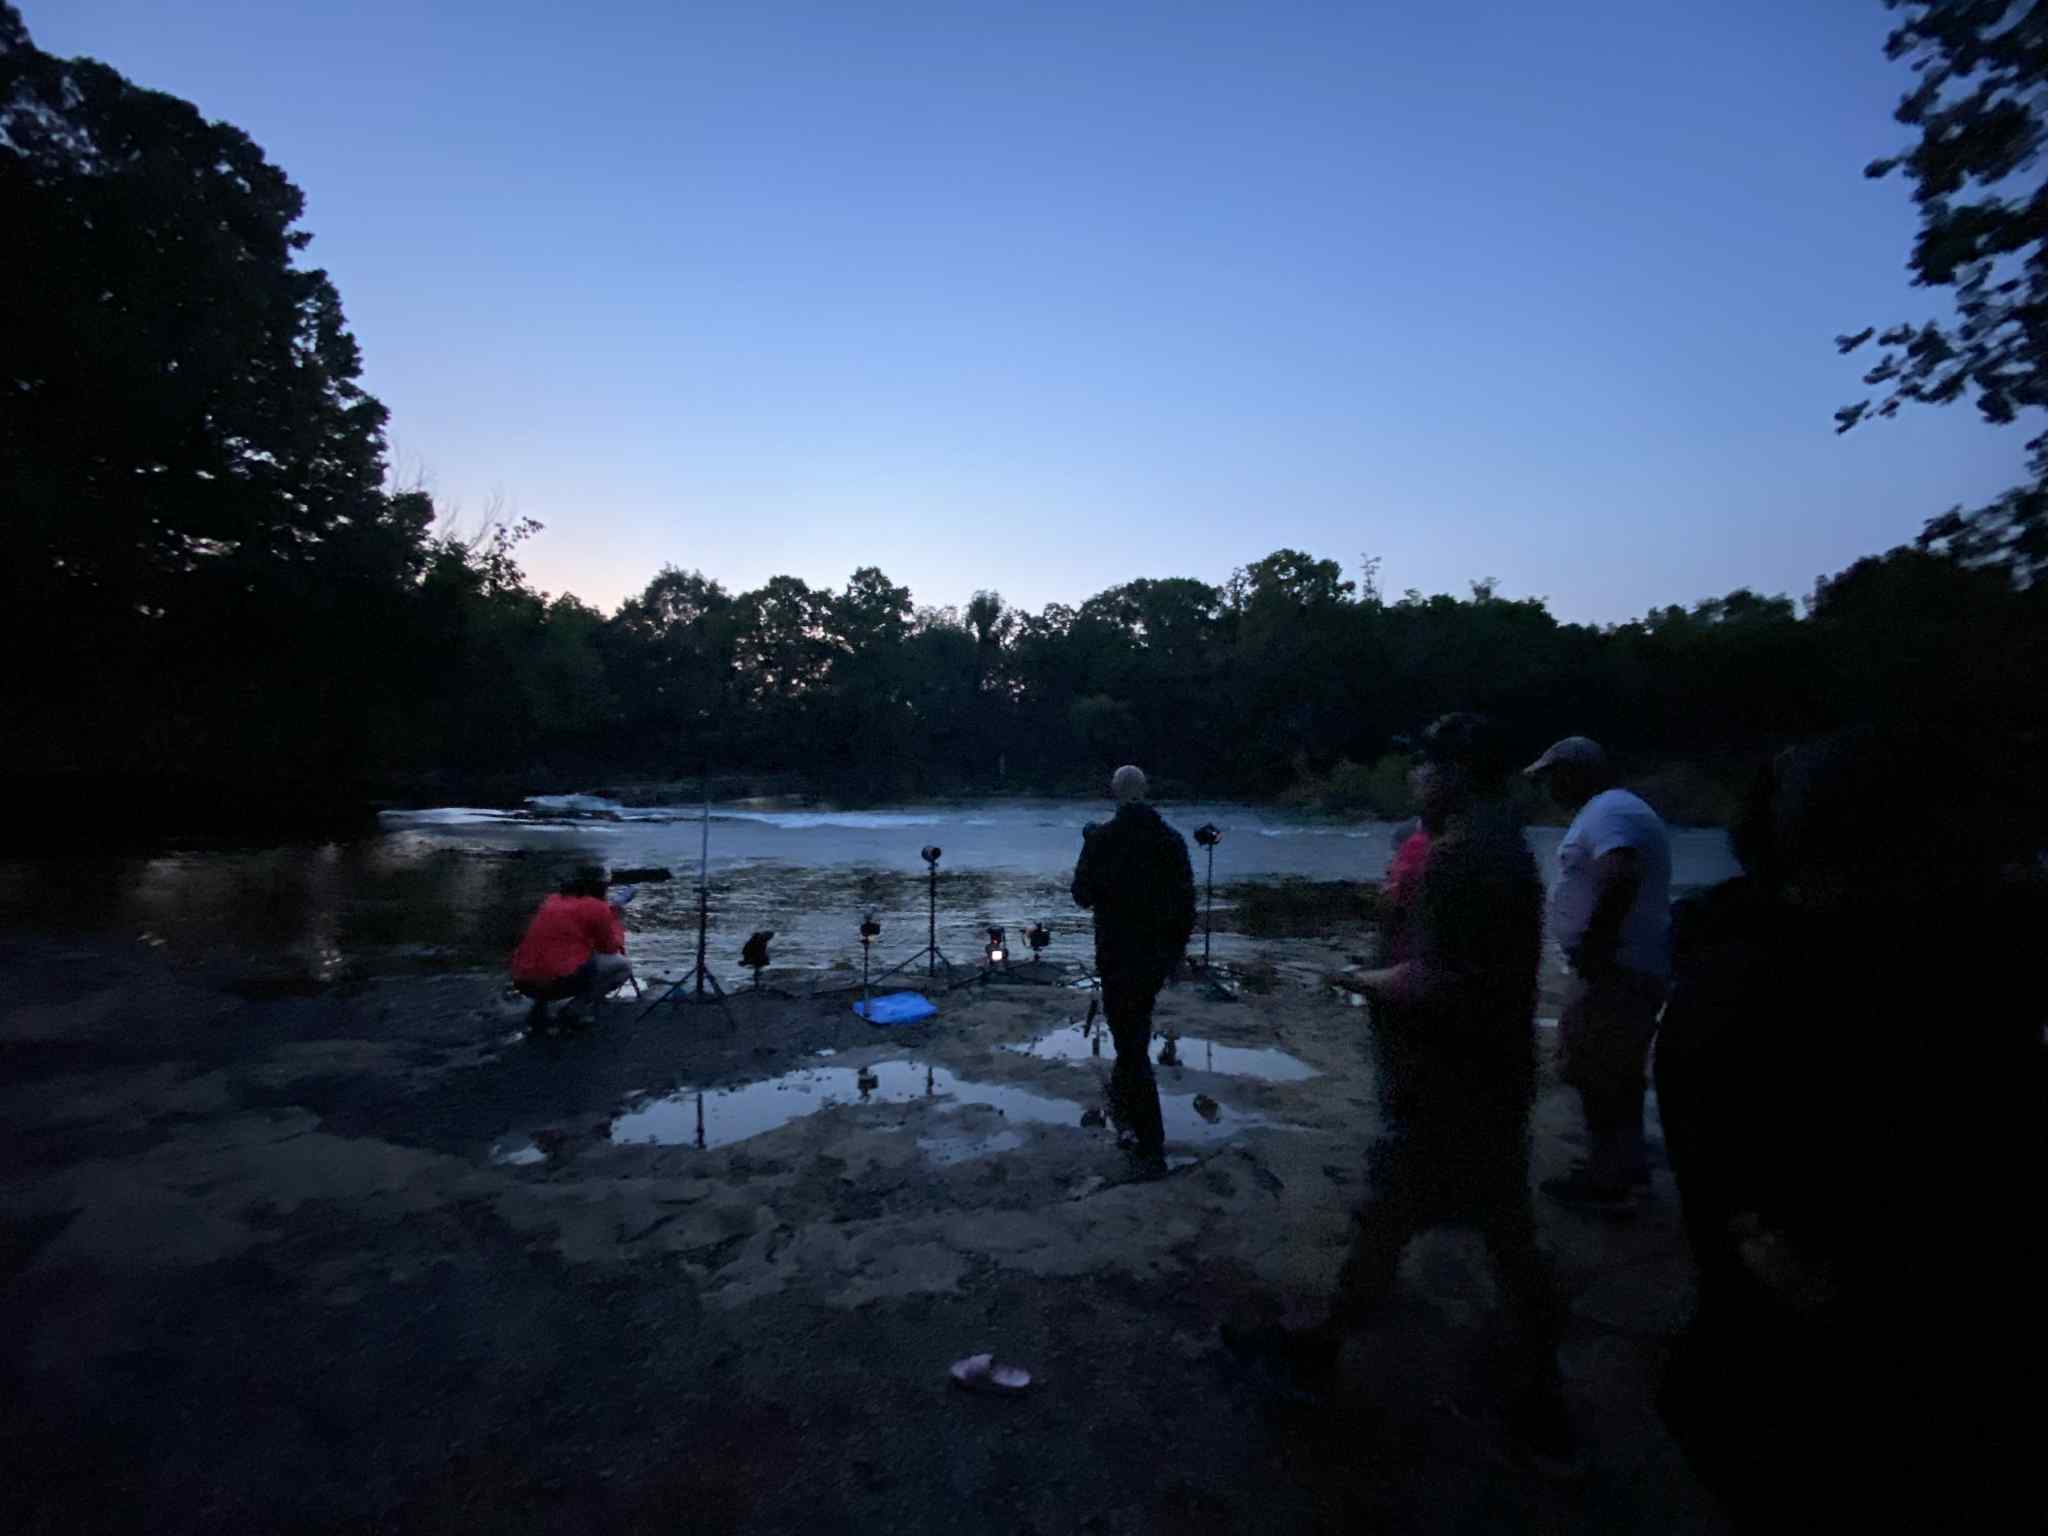
_________________________________________________________________________________________________________________________________
Links to Equipment
Flashlight (fits in tube)
Clear Tubes (Remember to double them for the strength, at least the lower half)
Silver Heat Tape (Used at the end of the tube to reflect the light back)
Light Modifier on strobe (Bowen mount)
Camera Remote (You need to get the one that works with YOUR camera)
Camera Tripod (LOW)
Dummy cord (retractable key chain)
